You can create a change notice to manage the changes to be applied to parts. In this example, one part is revised within a change notice. However, multiple parts could be changed within a change notice and also any other changes could be covered by a change notice.
| 1. | Log in to PTC Windchill. |
|
Note: In this topic, we only revise one part. |
|
| 2. | Browse to the part to be changed. |
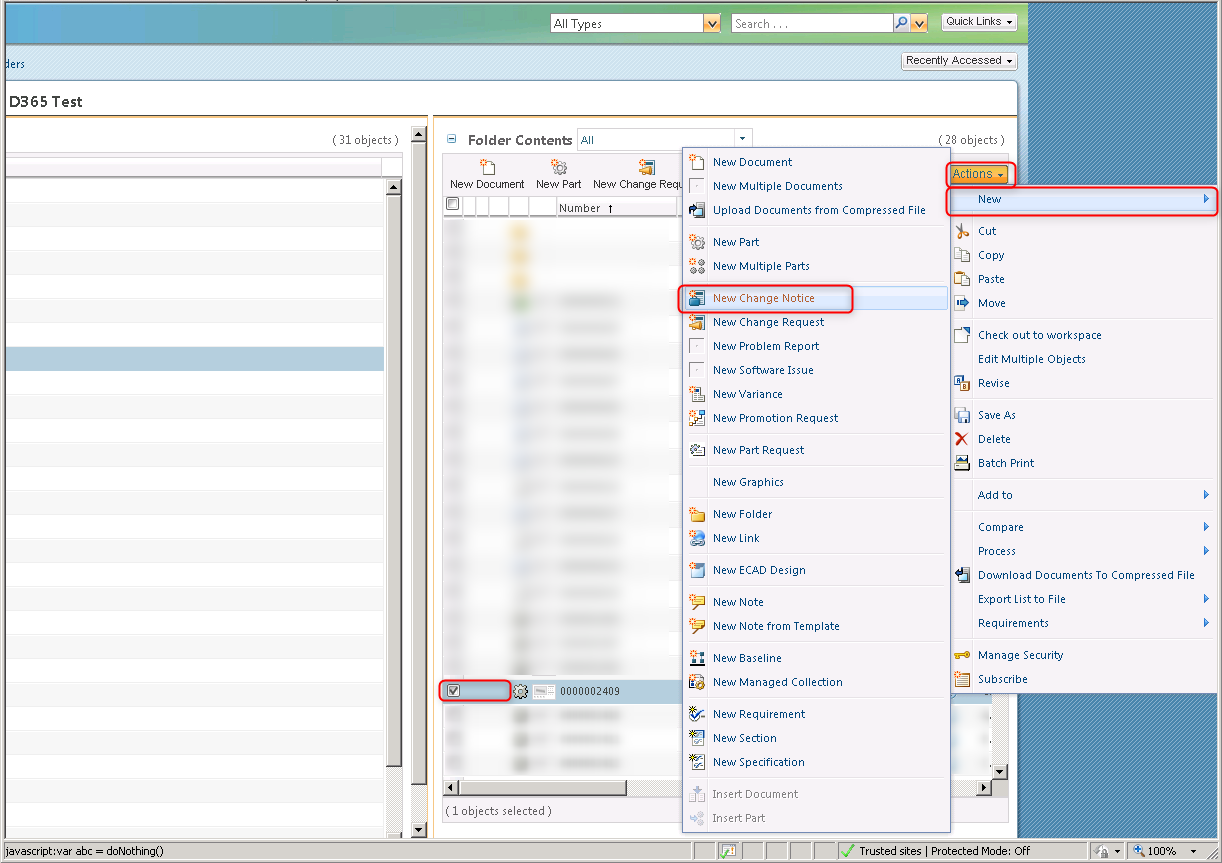
| 3. | Select the part > click Actions > click New > click New Change Notice. |
|
|
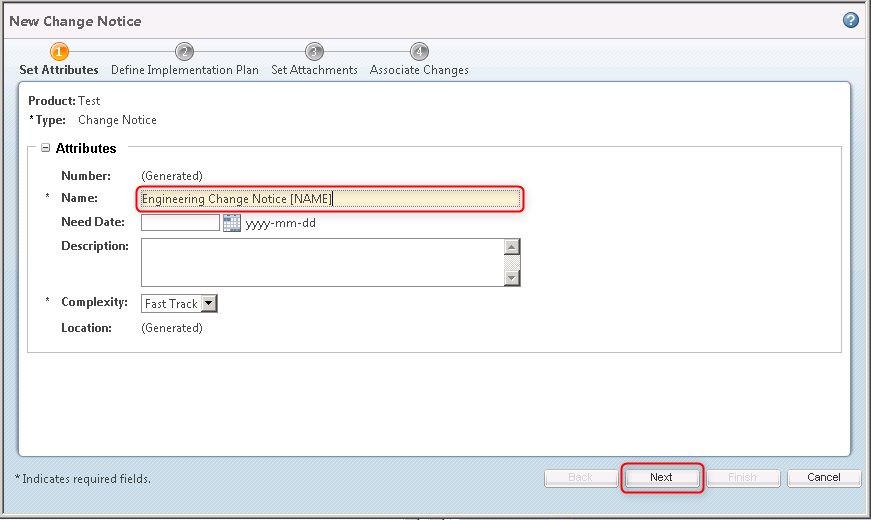
| 4. | In the textbox Name type a value > click Next. |
|
|
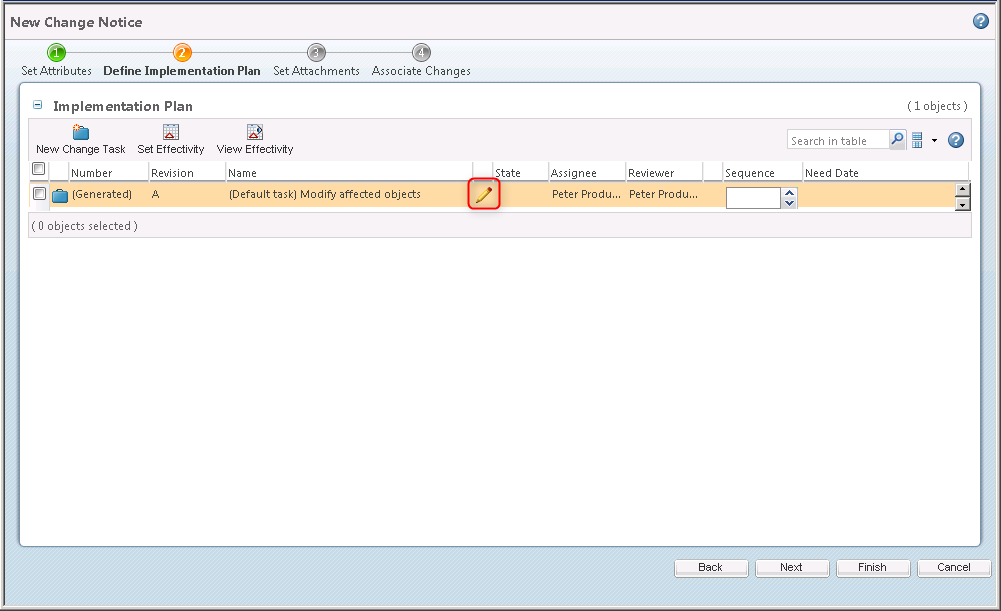
| 5. | Click Edit. |
|
|
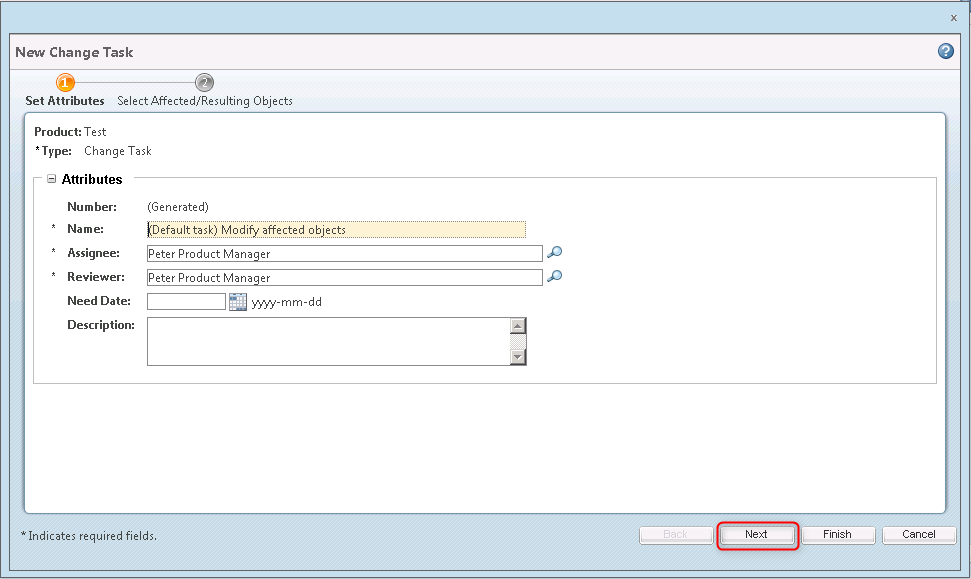
| 6. | Click Next. |
|
|
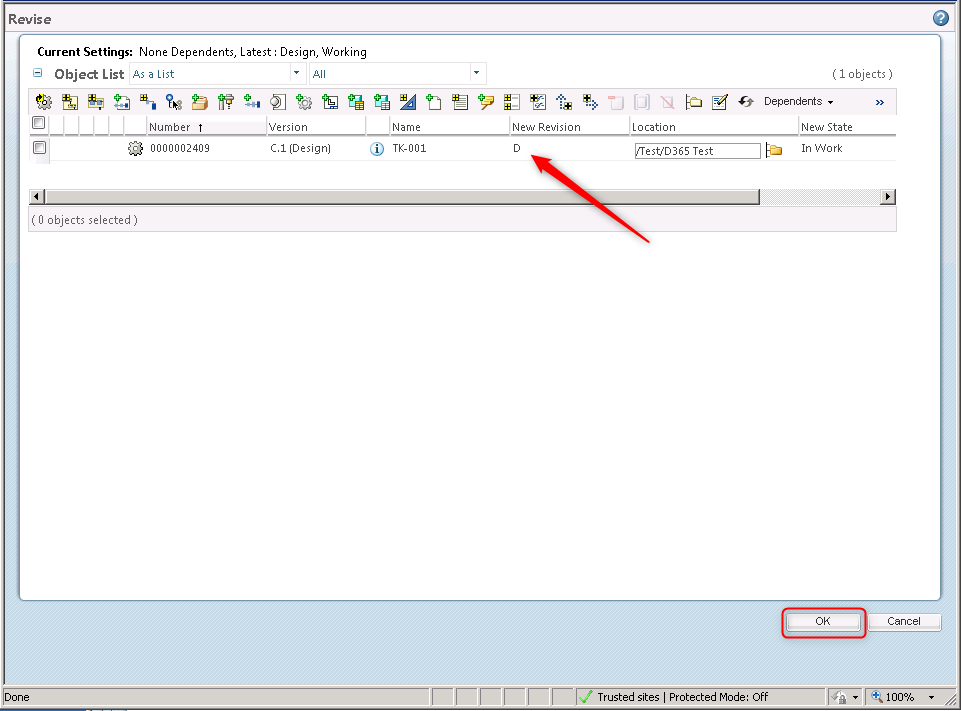
| 7. | Select the part > click Revise. |

|
|
|
Note: In this topic we only revise one part. |
|
| 8. | Click OK. |
|
|
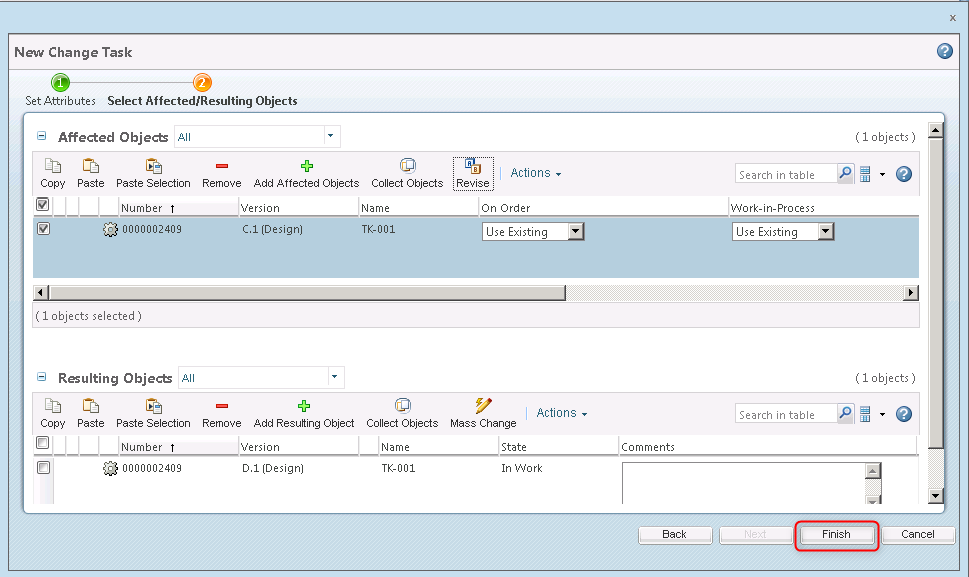
| 9. | Click Finish. |
|
|
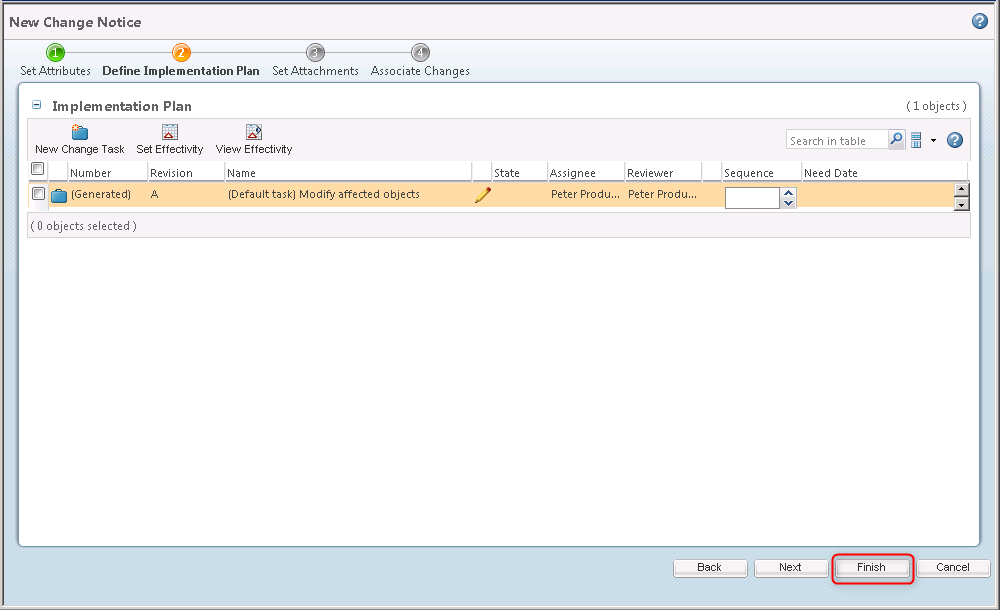
| 10. | Click Finish. |
|
|
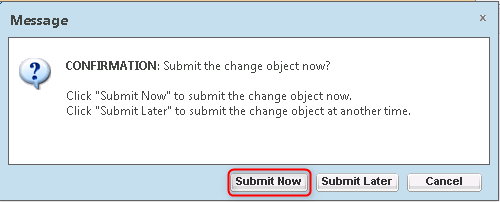
| 11. | Click Submit Now. |
|
|
|
Note: By submitting the change notice, the change notice is available for an engineer to apply the changes described in the change notice. |
| Related to | Notes |
|---|---|
|
Use PTC Windchill integration |