This example calls a Microsoft Dynamics 365 Business Central web service and stores the response as a message to pass on in the pipeline. The following prerequisites are required:
The URL for the web service.
User credentials to access the service.
Postman to create the authorization string.
Create a new connection
Create a new connection, give it a name, and add the
WEBSERVICEENDPOINTelement.Select Edit on the subpage ribbon to open the element.
Get the URL
Open your Microsoft Dynamics 365 Business Central web client by navigating to your environment in your browser.
Search for the Web Services page and open it.
Navigate to the record for Page 42 Sales Order. Copy the OData V4 URL:
http://bcsaas203-default:7048/BC/ODataV4/Company('CRONUS%20International%20Ltd.')/SalesOrder?tenant=BCSaaS203-default
Add filters
Microsoft Dynamics 365 Business Central web services use the querystring to filter the dataset retrieved from the service. The following example adds filters on the Sell-To Customer and Status fields.
Note
The filter stores in the
$filterkey.
$filter=Sell_to_Customer_No eq '30000' and Status eq 'Released'
Add this to the web service URL:
http://bcsaas203-default:7048/BC/ODataV4/Company('CRONUS%20International%20Ltd.')/SalesOrder?tenant=BCSaaS203-default&$filter=Sell_to_Customer_No%20eq%20%2730000%27%20and%20Status%20eq%20%27Released%27
Note
The environment used in this example is a sandbox container named BCSaaS203 with the tenant as default.
Set up authorization
Several ways to authorize a web request exist. Authorization typically adds to the headers of a web request, though some scenarios add it to the querystring. Common types are: No Authorization, API Key, Basic Auth, Bearer Token, OAuth 1.0, and OAuth 2.0.
Microsoft Dynamics 365 Business Central web services support Basic and OAuth 2.0 authorization. Basic authentication is deprecated in SaaS environments.
This example uses Basic Auth with a web service key:
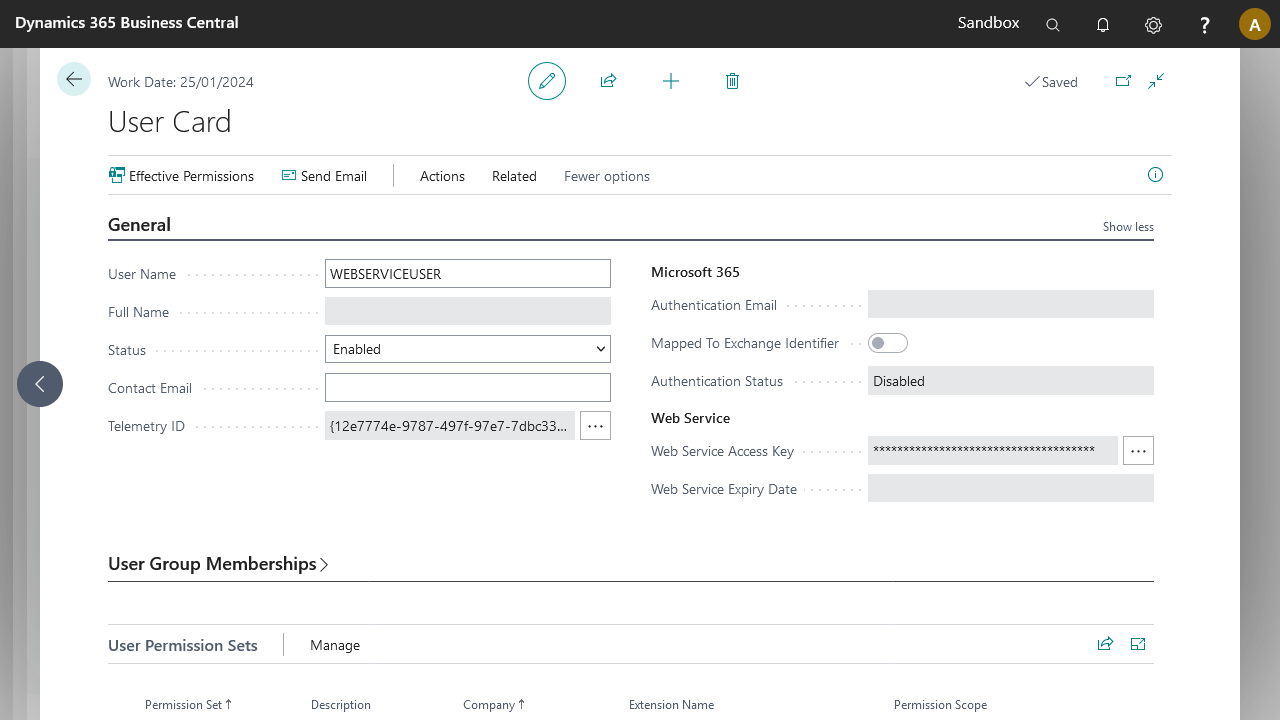
Navigate to Users and select the user to use.
Enable the web service key for that user. To copy the web service key, you must be logged in as that user in Microsoft Dynamics 365 Business Central.
Copy the web service key to a temporary location. Use Postman to create the authorization header.
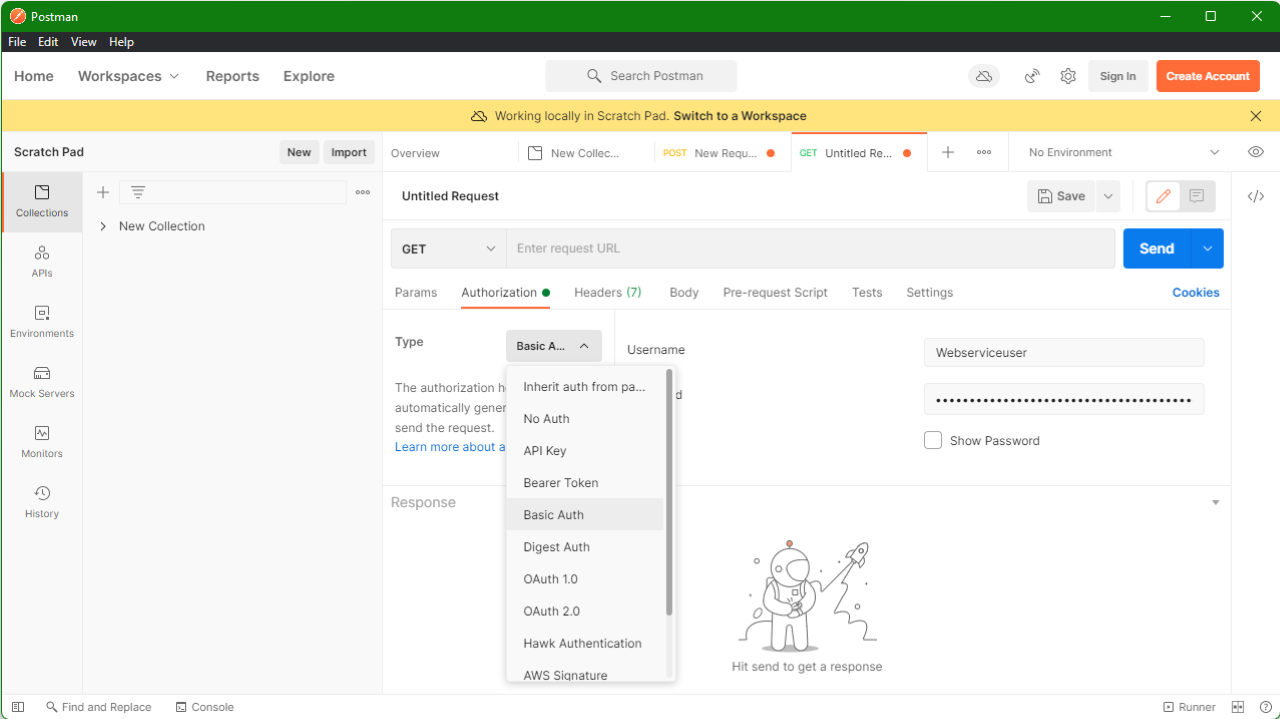
Open Postman and create a new web request. If prompted to create an account, select Skip and go to app at the bottom of the screen.
In Postman, create new (Ctrl+N) and select a new HTTP request.
In the untitled request, navigate to the Authorization tab, select Basic Auth in the dropdown, and enter your username and web service key in the corresponding fields.
Switch to the Headers tab and copy the value of the Authorization key.
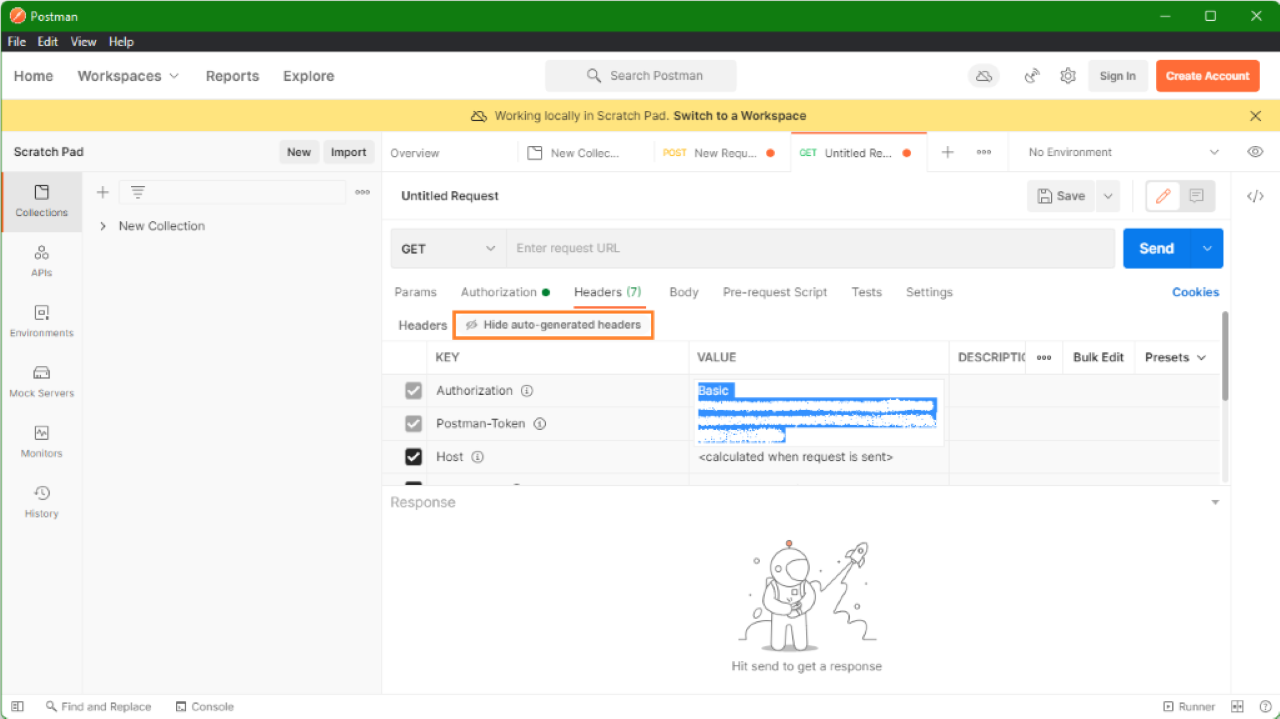
Note
If the Authorization key is not visible, select the x hidden button.

Go back to the connection and add the key and value to the Headers.
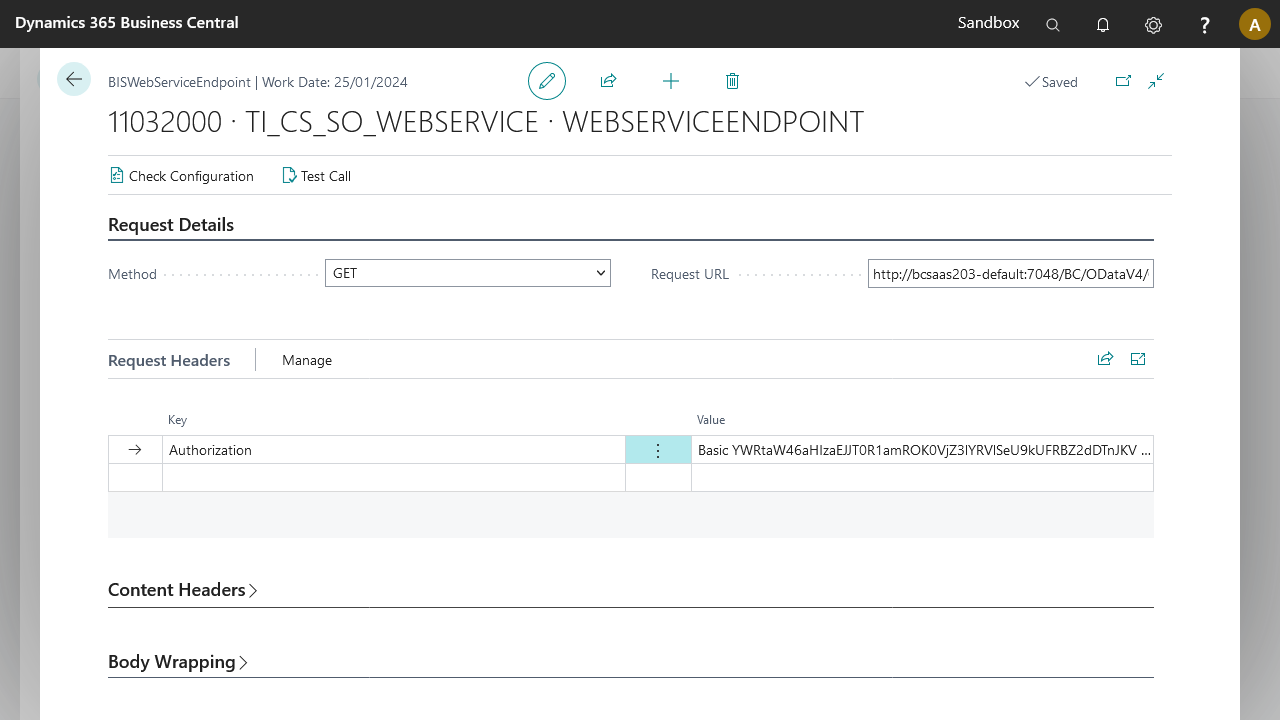
Run a test call
Select the Test Call button in the ribbon of the WEBSERVICEENDPOINT setup page.
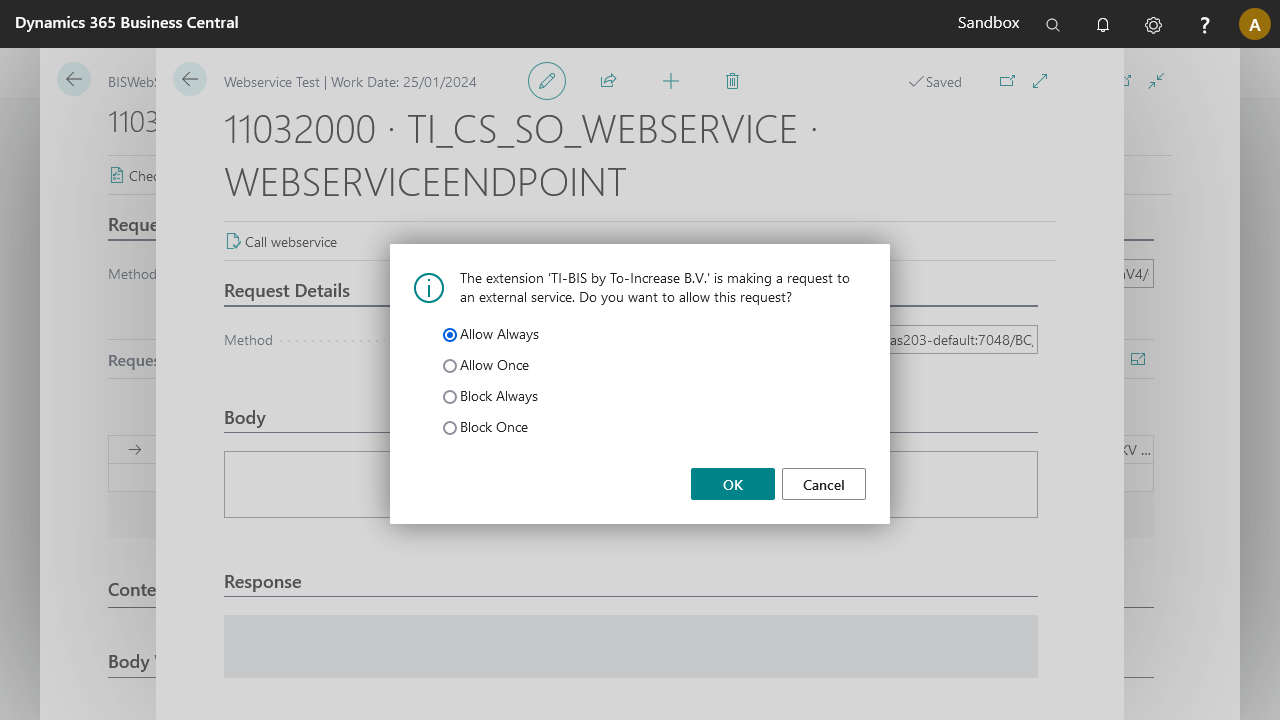
Select Call webservice on the new page. A popup may appear requesting permission to submit requests.
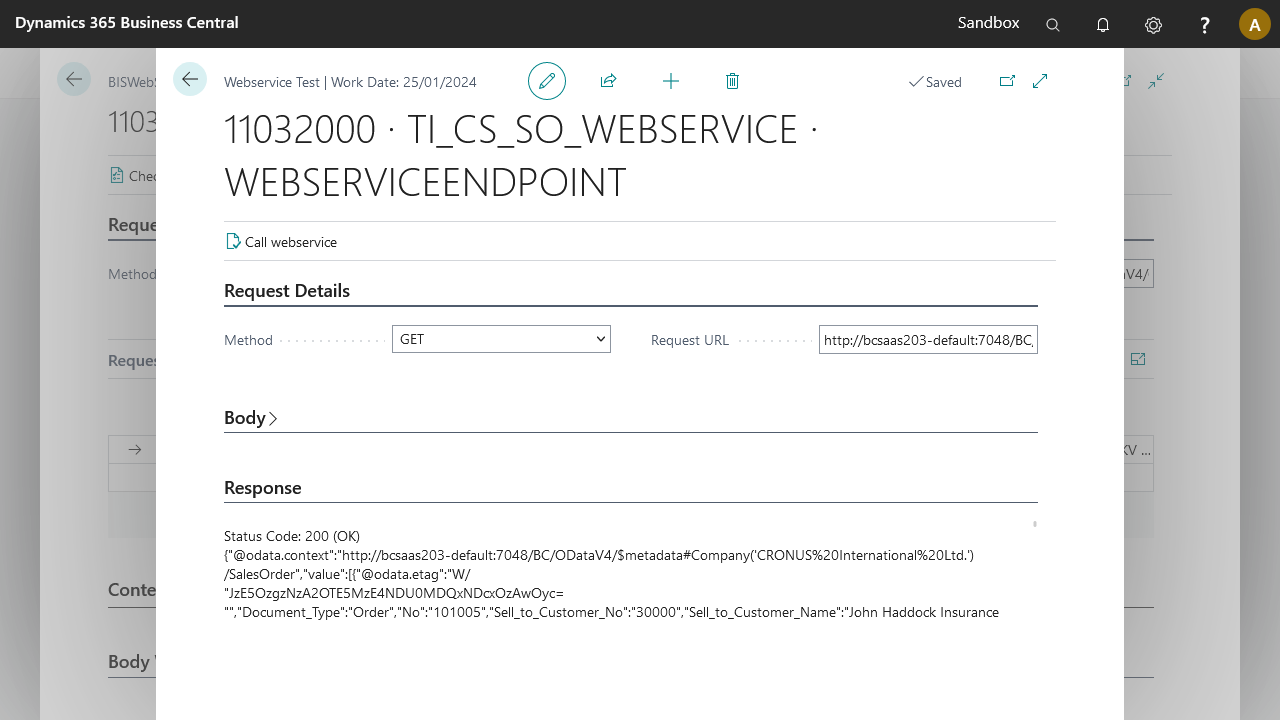
The test call result has two parts: the status code of the call (200 OK) and the body of the response.
Status Code: 200 (OK)
{"@odata.context":"http://bcsaas203-default:7048/BC/ODataV4/$metadata#Company('CRONUS%20International%20Ltd.')/SalesOrder","value":[{"Document_Type":"Order","No":"101005","Sell_to_Customer_No":"30000","Sell_to_Customer_Name":"John Haddock Insurance Co.","Status":"Released",...}]}
Only the body stores in the message when using the WEBSERVICEENDPOINT element in your connections.
Follow-up steps
With the data received from the web service, create an internal document to use the data further down the pipeline:
Set up the WEBSERVICEENDPOINT.
Create an external document from the web service response.
Use the JSON to XML Translator activity to transform the web service response to XML or external document format.
Create an internal document with the tables and fields to update in Microsoft Dynamics 365 Business Central.
Use the Mapper activity to map the data to the internal document format.
Use the Record Generator activity to create or update the Microsoft Dynamics 365 Business Central data based on the response.