Set up a distribution target in PTC Windchill. A distribution target is a location to which PTC Windchill data is sent. The D365 FO integration takes the PTC Windchill data from this location for further processing in D365 FO. Associate the created distribution target to the parts which should be sent during their lifetime to this distribution target.
| 1. | Log in to PTC Windchill with administrator rights. |
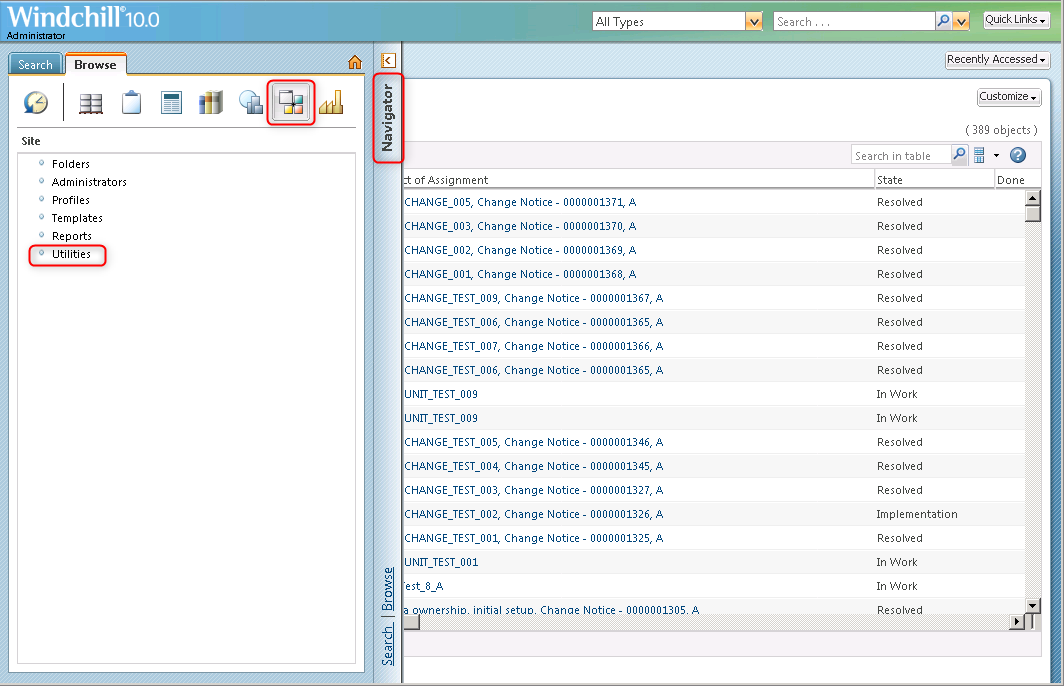
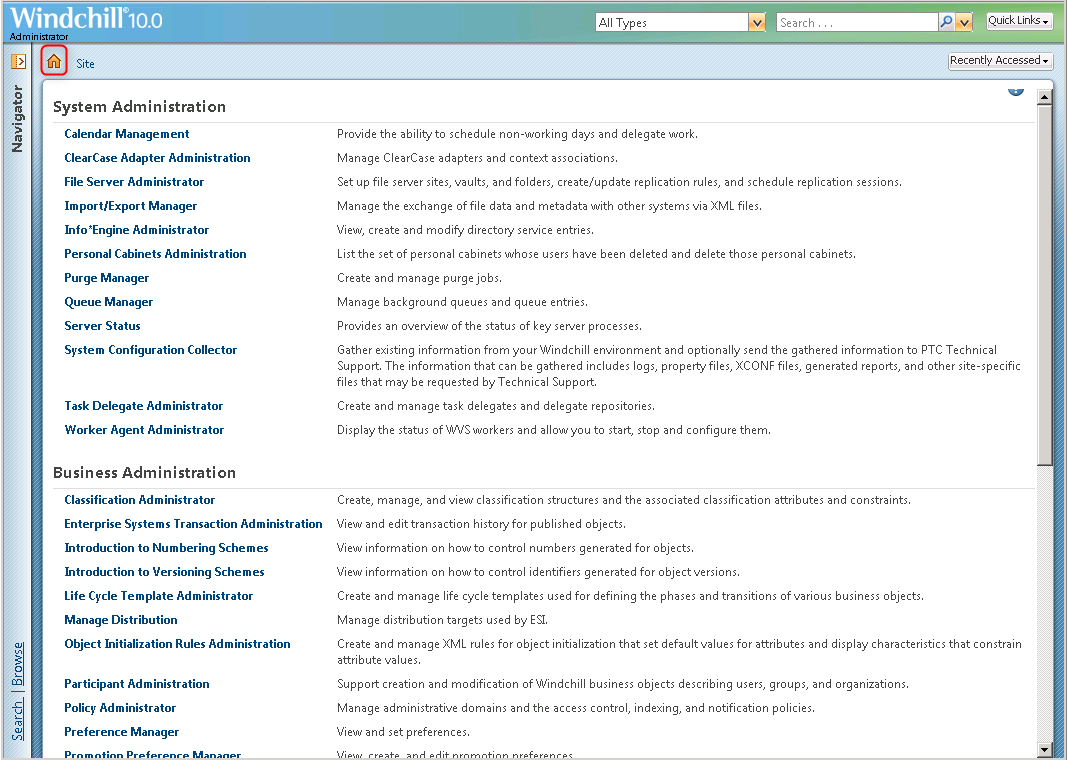
| 2. | Go to Navigator > Site> Utilities. |
|
|
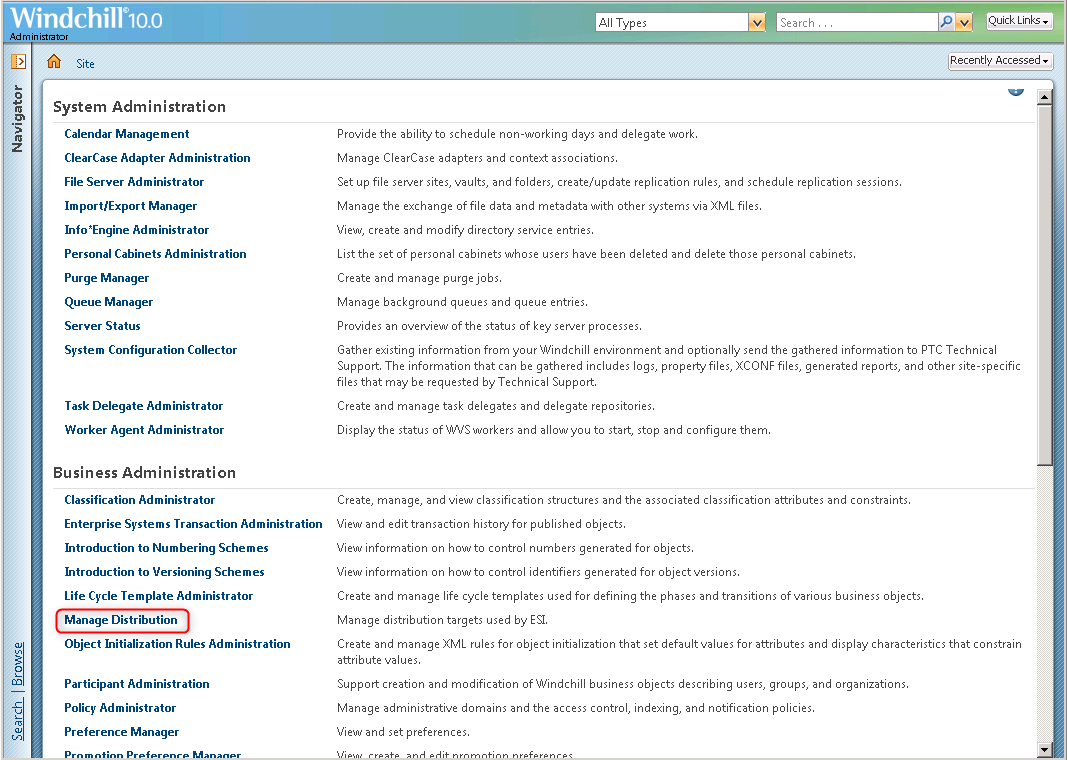
| 3. | In the Business Administration section, click Manage Distribution. |
|
|
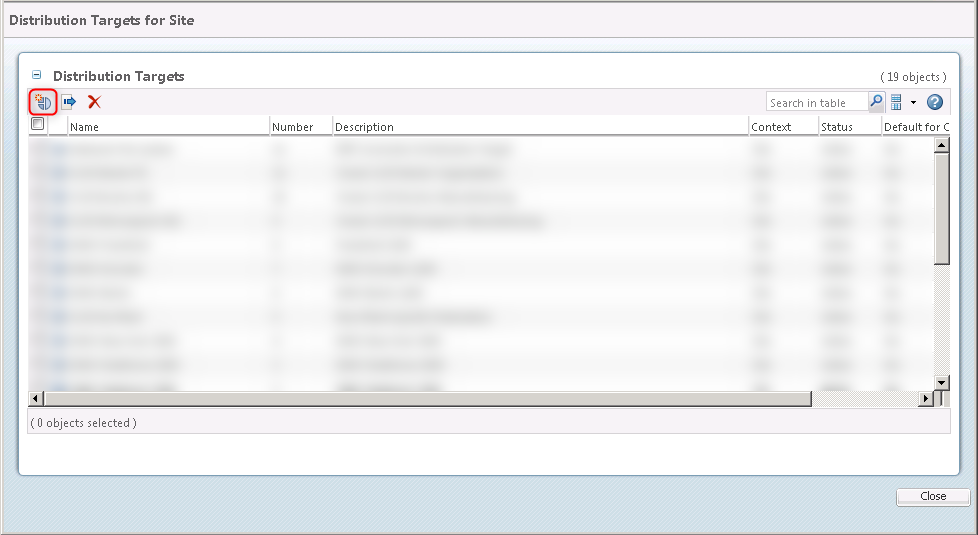
| 4. | Click Create Distribution Target. |
|
|
| 5. | Fill in the Distribution target fields. |

|
|
| 6. | In the Type field, select File. |
| 7. | In the Number field, type a value. You can enter any unused number. |
| 8. | In the Name field, type a value. You can enter any name. |
| 9. | In the Description field, type value. |
| 10. | In the State field, select Active. |
| 11. | In the Default for Context field, select No. |
| 12. | In the Path field, enter the Azure field storage path. |
| 13. | Click Next. |
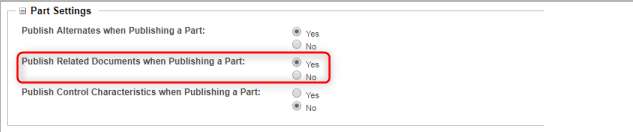
| 14. | Define the Part Settings as required. For the integration with D365 FO, set Publish Related documents when Publishing a Part to Yes. |
|
|
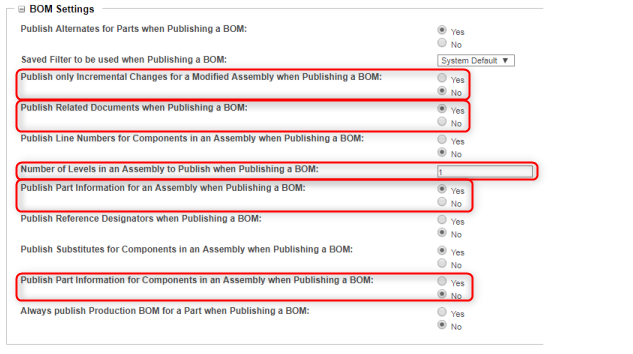
| 15. | Define the BOM Settings as required. For the integration with D365 FO, define these settings as indicated: |
|
|
| 16. | Publish only Incremental Changes for a Modified Assembly when Publishing a BOM = No. |
| 17. | Publish Related Documents when Publishing a BOM = Yes. |
| 18. | Number of Levels in an Assembly to Publish when Publishing a BOM = 1. |
| 19. | Publish Part Information for an Assembly when Publishing a BOM = Yes. |
| 20. | Publish part Information for Components in an Assembly when Publishing a BOM = Yes. |
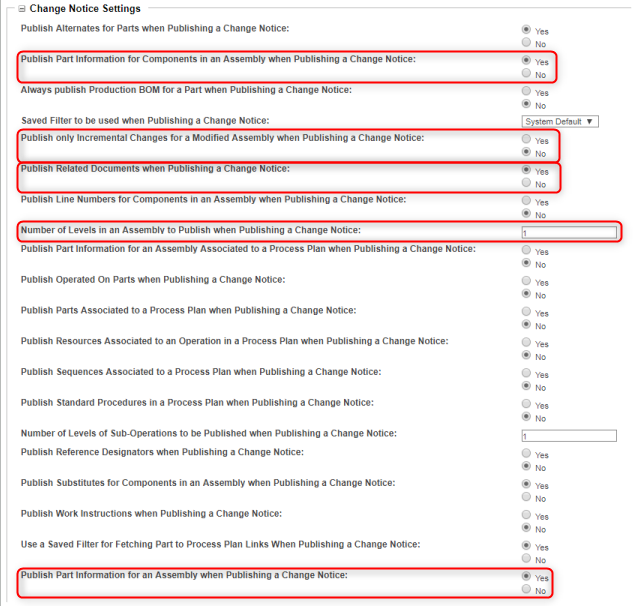
| 21. | Define the Change Notice Settings as required. For the integration with D365 FO, define these settings as indicated: |
|
|
| 22. | Publish Part Information for Components in an Assembly when Publishing a Change Notice = Yes. |
| 23. | Publish only Incremental Changes for a Modified Assembly when Publishing a Change Notice = No. |
| 24. | Publish Related Documents when Publishing a Change Notice = Yes. |
| 25. | Number of Levels in an Assembly to Publish when Publishing a Change Notice = 1. |
| 26. | Publish Part Information for an Assembly when Publishing a Change Notice = Yes. |
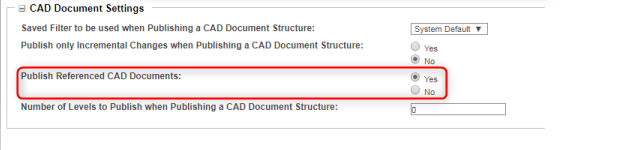
| 27. | Define the CAD Document Settings as required. For the integration with D365 FO, set Publish Referenced CAD Documents to Yes. |
|
|
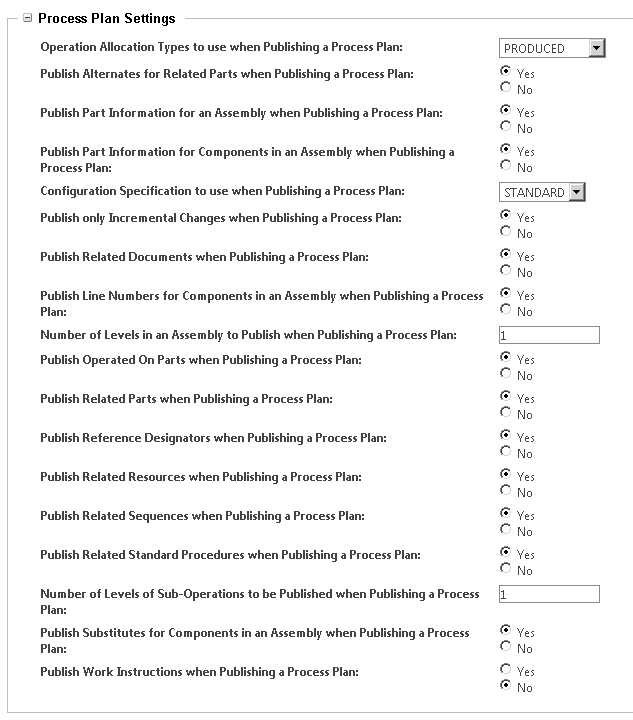
| 28. | Define the Process Plan Settings as required. For the integration with D365 FO, no specific setup is required. |
|
|
| 29. | Define the Resource Settings as required. For the integration with D365 FO, no specific setup is required. |

|
|
| 30. | Define the XSL Parameters as required. For the integration with D365 FO, no specific setup is required. |

|
|
|
Note: Transforming the datafile by an XSL transformation should be done by the connectivity studio side of the integration in D365 FO. By transforming the data when reading the data with connectivity studio, the original file will stay preserved. This makes debugging and tracing back data easier. |
|
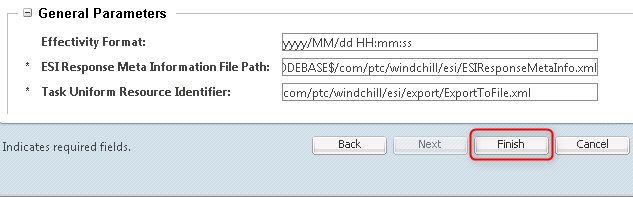
| 31. | Define the General Parameters as required. For the integration with D365 FO, no specific setup is required > click Finish. |
|
|
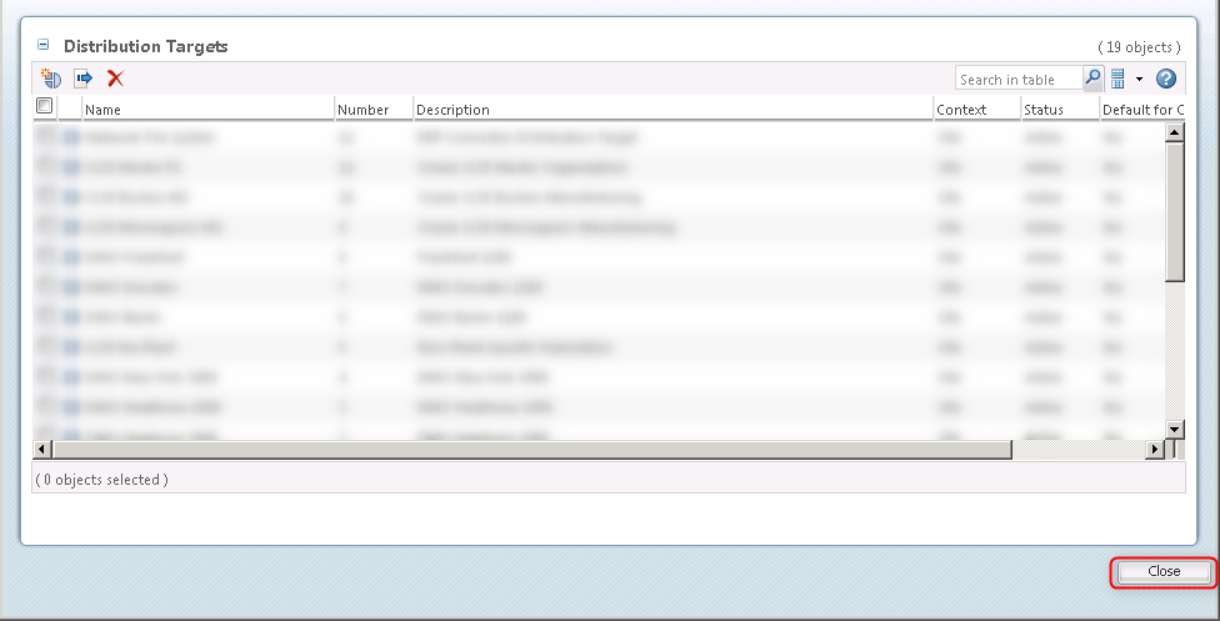
| 32. | Click Close. |
|
|
| 33. | Go to the PTC Windchill home page. |
|
| Related to | Notes |
|---|---|
|
Set up PTC Windchill integration |